
Pre-tuning Troubleshooting Steps
I. Checking Flight Controller LED Indicators
1.1 Device Connection
- Use an 8PIN cable to connect the flight controller to the expansion board, ensuring it's securely inserted and that no pins are bent.
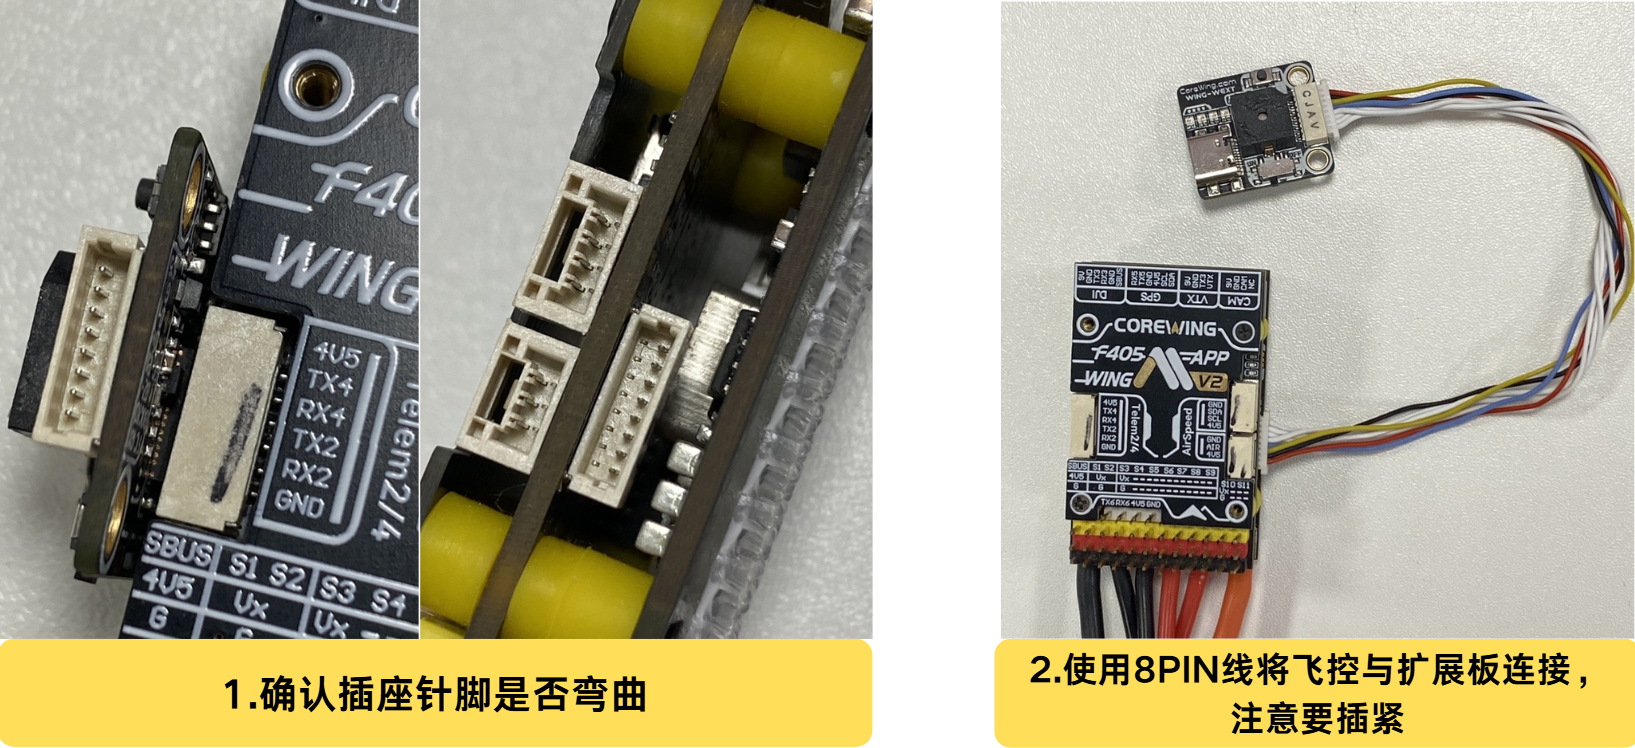
- Connect the expansion board to the computer using a data cable
1.2 Confirming Flight Controller Board LED Status
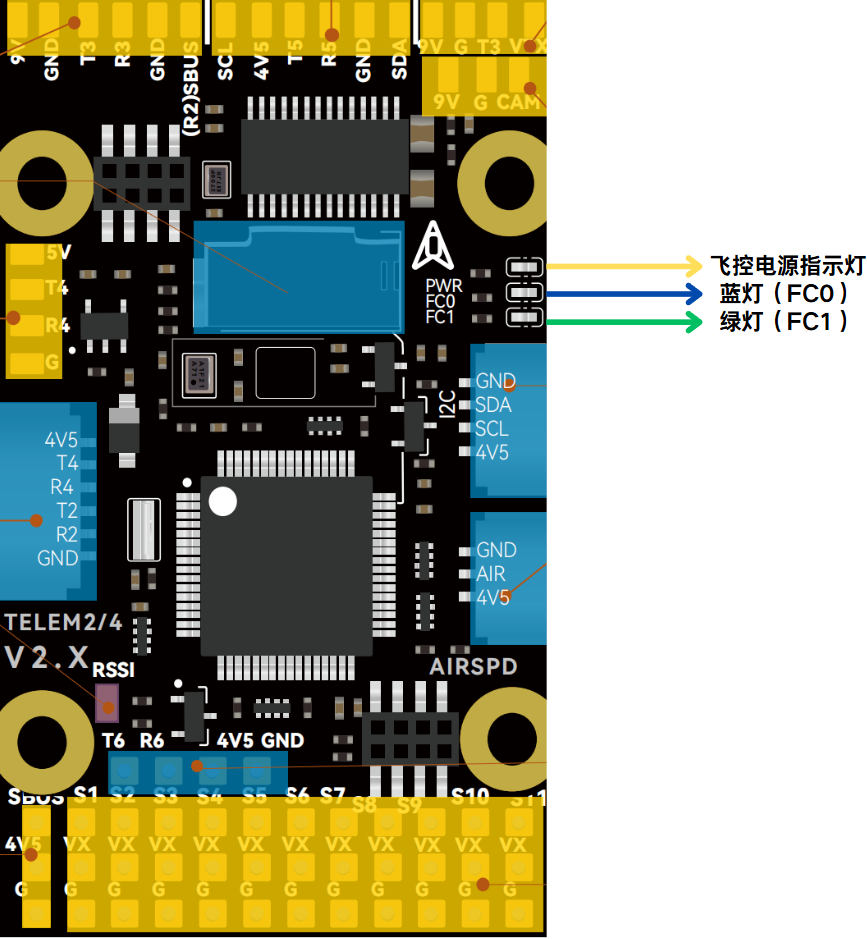
1.2.1 Flight Controller Power LED Confirmation
- Confirm that the power LED is lit. If not, it indicates that the flight controller is not receiving power properly. Please check the connections between the expansion board and flight controller, as well as the data cable.
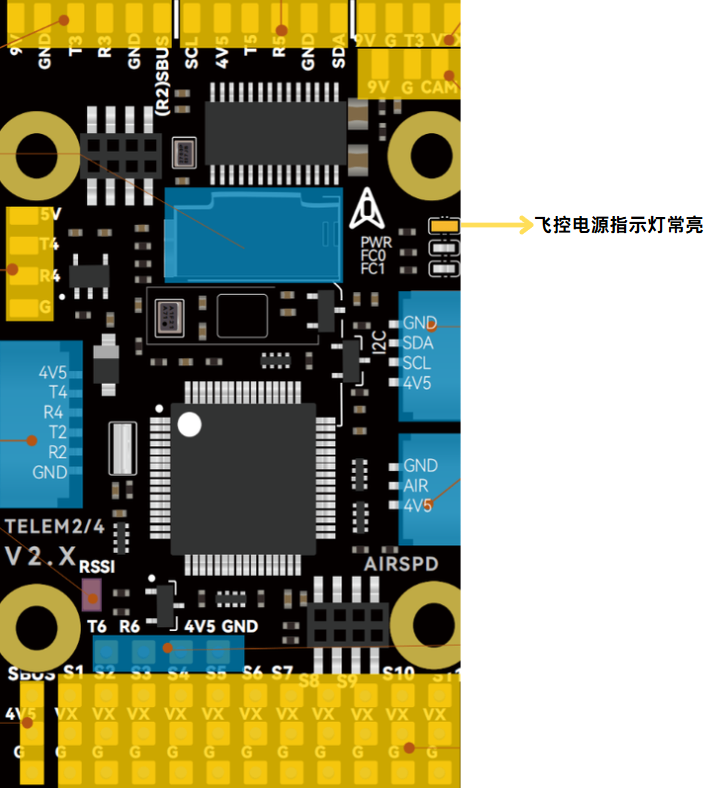
1.2.2 FC0 FC1 LED Confirmation - Normal Conditions
- If using INAV firmware and the firmware starts normally: The power LED stays constantly on, the blue LED (FC0) flashes rapidly, then the blue LED (FC0) flashes slowly, as shown in the figure.
- If using ArduPilot firmware and the firmware starts normally: The power LED stays constantly on, the blue LED (FC0) flashes rapidly, then the blue LED (FC0) turns off and the green LED (FC1) flashes slowly, as shown in the figure.
1.2.3 FC0 FC1 LED Confirmation - Abnormal Conditions
If the flight controller firmware is abnormal/the flight controller cannot start normally, the following LED conditions may occur:
- The power LED stays constantly on, the blue LED (FC0) stays constantly on, and the green LED (FC1) does not light up.
- The power LED stays constantly on, the blue LED (FC0) is dimly lit and stays on, and the green LED (FC1) does not light up, as shown in the figure.
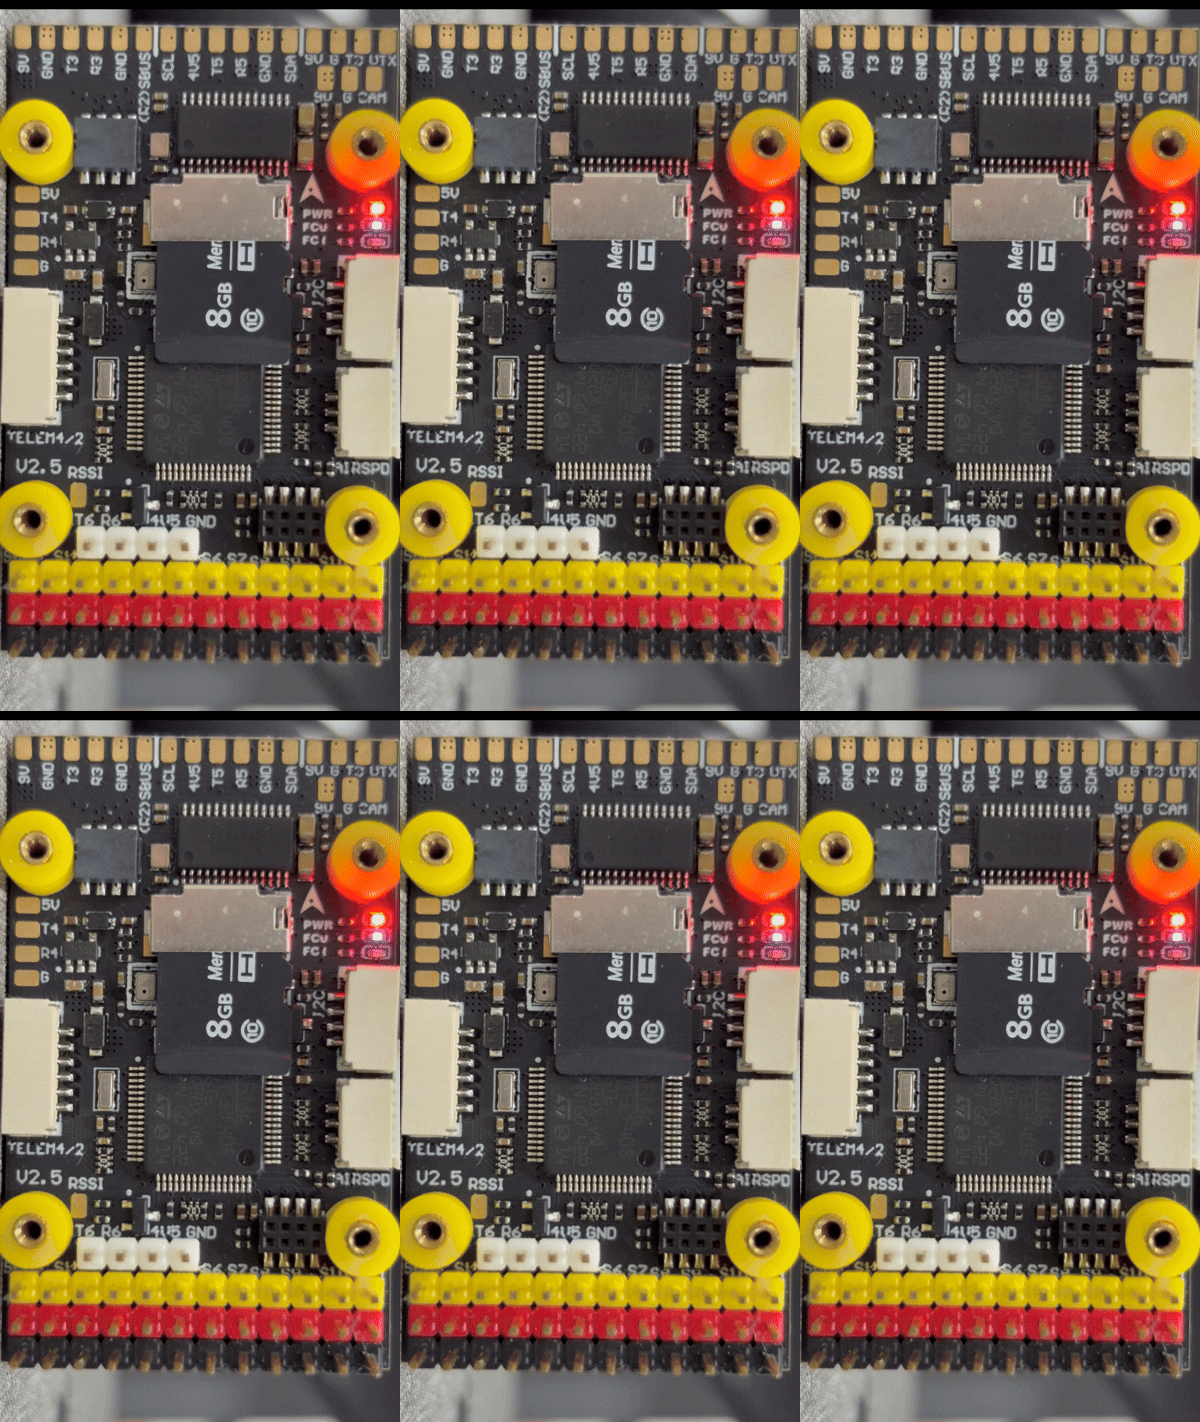
- The power LED stays constantly on, the blue LED (FC0) flashes rapidly then turns off, and the green LED (FC1) does not light up, as shown in the figure.
:::
If you encounter issues such as abnormal flight controller firmware or the flight controller failing to start normally, you can try to resolve the issue by reflashing the firmware, as detailed in the following sections.
:::
II. Confirming DFU Driver Status and Performing Firmware Updates
Important
The DFU driver is different from the flight controller firmware driver. Please distinguish them!!!
The DFU driver is the STM32 BOOTLOADER!!!
Important
Since the flight controller comes with INAV firmware pre-installed, you need to use INAV Ground Control Station to update the firmware.
For information on how to install different versions of INAV Ground Control Station, refer to this article: https://docs.corewing.com/plane/software/insoftware/inav-version-install.html
- Disconnect all power from the flight controller, press and hold
BOOTon the expansion board, and connect the flight controller to the computer using a data cable. - Open INAV Ground Control Station and check if
DFUis displayed in the upper right corner of the port section. IfDFUis not displayed, you need to check the DFU driver.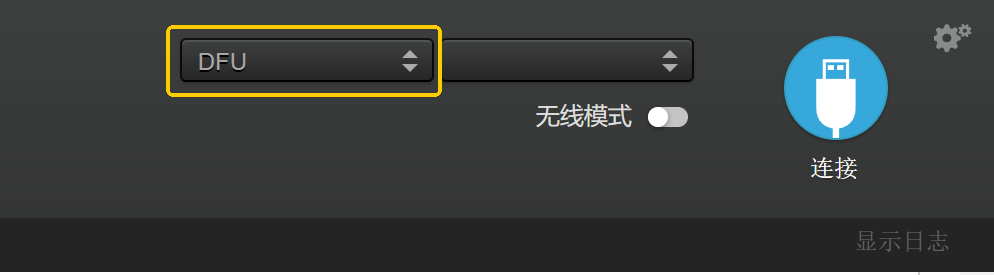
Important
For detailed information on how to confirm if the DFU driver is working properly, refer to this article: https://docs.corewing.com/plane/beforetuning/dfu-fail-fix.html
- After confirming that DFU mode can be entered, you can proceed with the firmware flashing operation.
Important
For information on how to update firmware using INAV Ground Control Station, refer to this article: https://docs.corewing.com/plane/beforetuning/inav-fw-update.html
Important
After flashing is complete, please confirm the status of the flight controller board LEDs again!!!
If the flight controller LED status remains abnormal, you can scan the QR code at the bottom of the article to contact after-sales technical support for assistance!!!
III. Confirm if the flight controller firmware driver is working properly
Important
DFU driver is different from flight controller firmware driver, please distinguish them!!!
Important
INAV firmware requires INAV ground control station for tuning, ArduPilot firmware requires MissionPlanner ground control station for tuning, please confirm the firmware before connecting.
- If the flight controller indicator lights are normal, use a data cable to connect the flight controller to the computer.
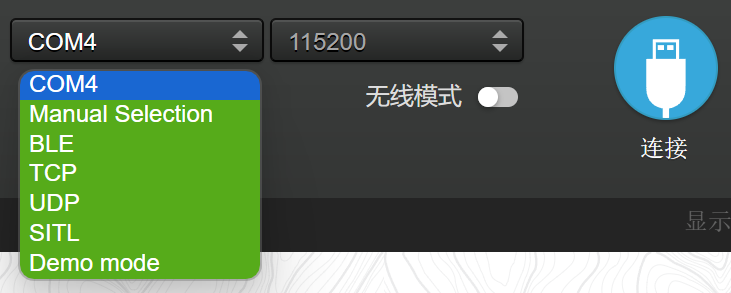
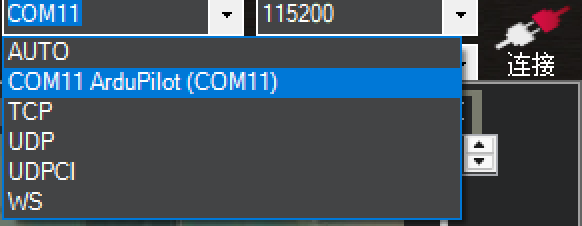
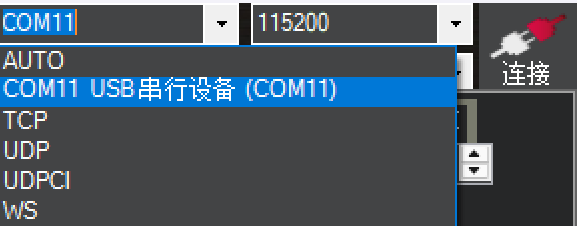
3.1 Confirm if the ground control station detects the serial port
- INAV ground control station normally detects the port:
- Mission Planner ground control station normally detects the port:
3.2 Confirm if the driver is working properly
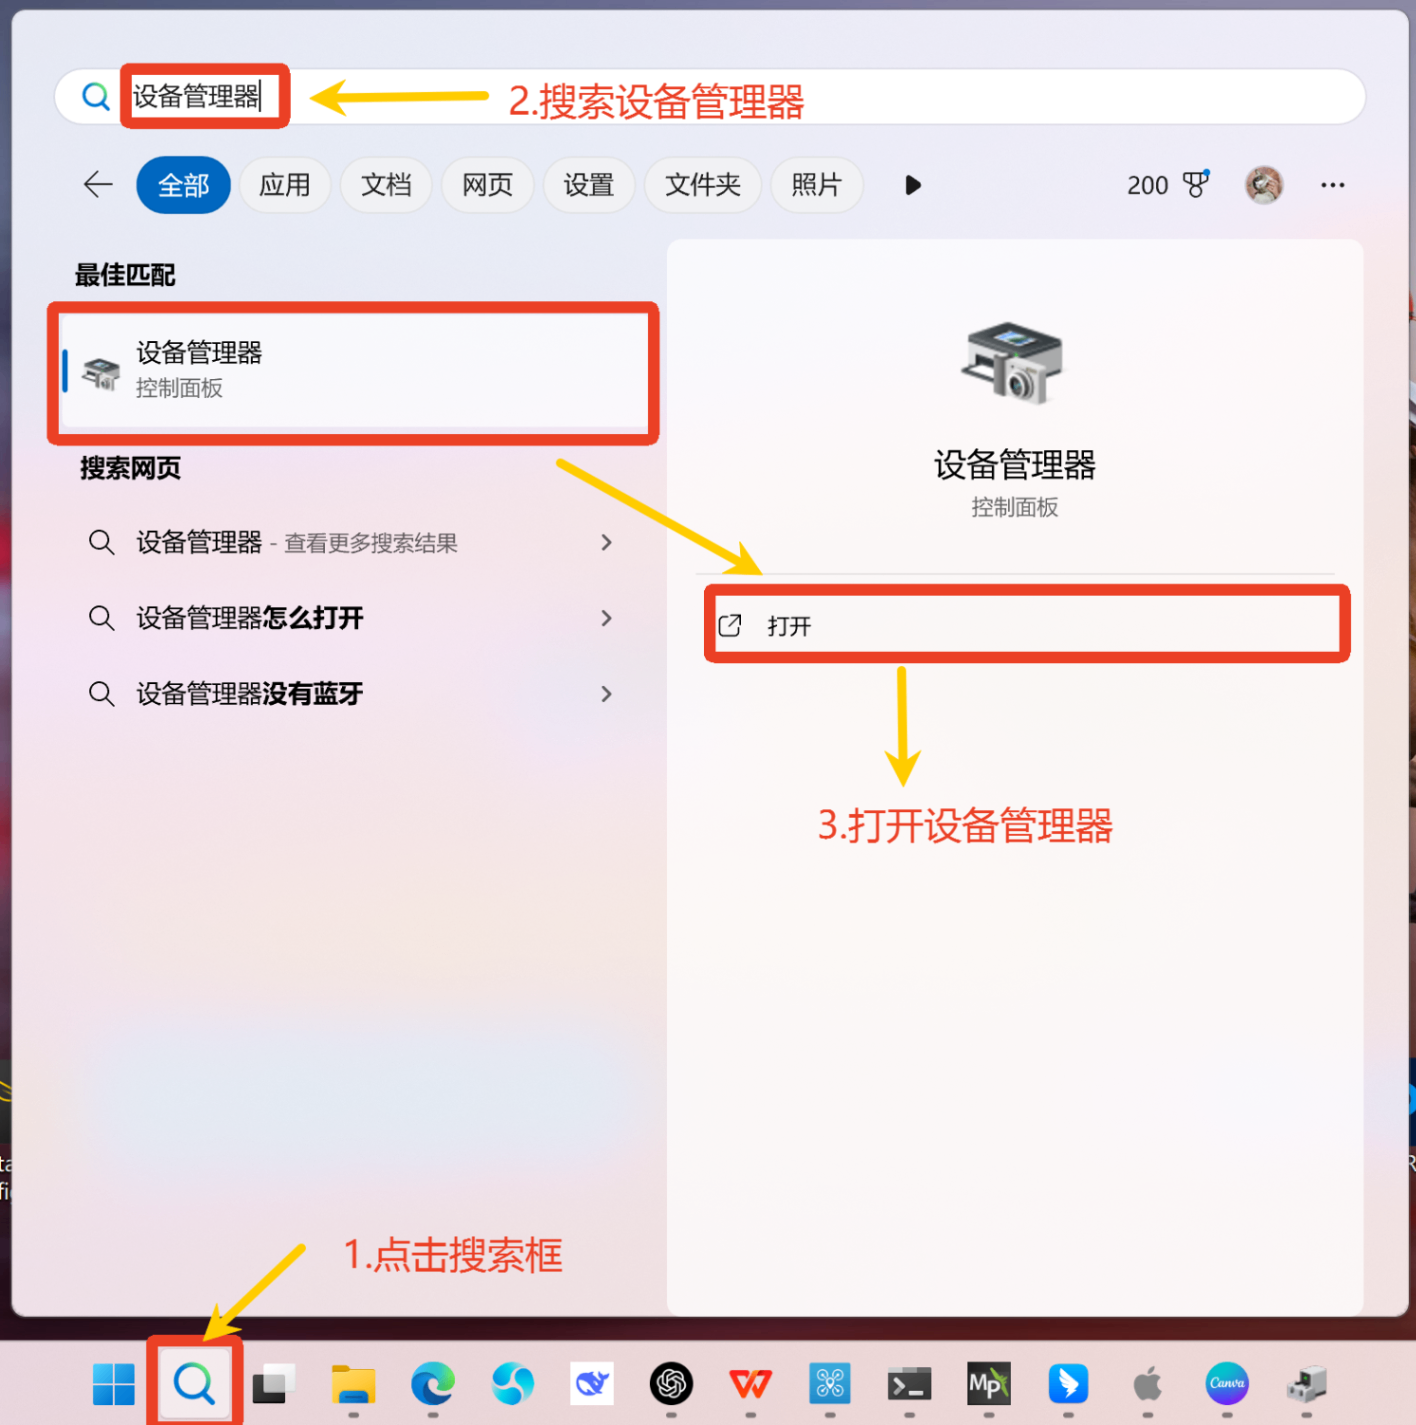
- Open Device Manager to check if the driver is working properly.
3.2.1 Normal driver situation
- Displays as
STMicroelectronics Virtual COM Port (COMx)- Will appear if the flight controller is running INAV firmware, as shown in the figure below.
- Displays as
ArduPilot (COMx)- Will appear if the flight controller is running ArduPilot firmware, which happens when installing MissionPlanner ground control station with.msi(image) file, as shown in the figure below.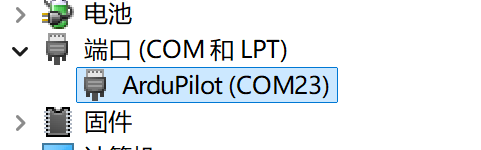
- Displays as
USB Serial Device (COMx)- May appear when installing INAV ground control station or MissionPlanner ground control station with.zip(compressed package) file, as shown in the figure below.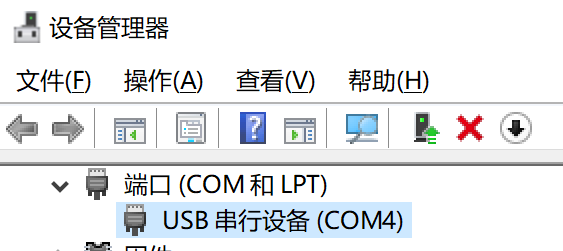
3.2.2 Abnormal driver situations
- Phenomenon 1: No COM port display
After connecting the flight controller to the computer, the corresponding serial port is not visible in Device Manager'sPorts (COM & LPT).
In some cases, the flight controller device may appear in other locations (such as "Other devices" or "Unknown devices"), but is not correctly recognized as a USB serial device.
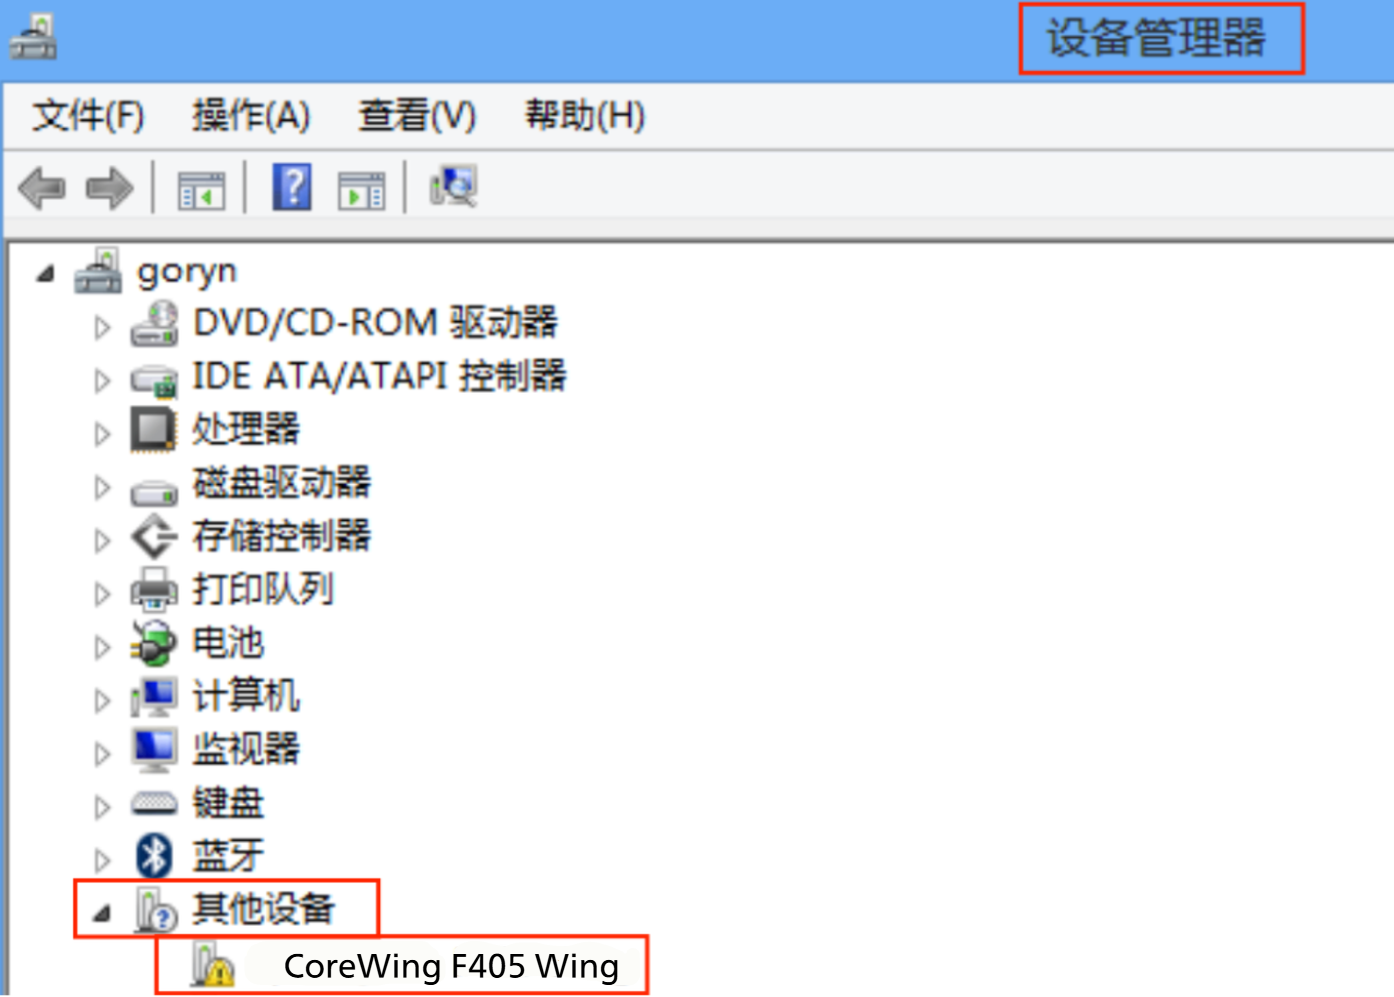
- Phenomenon 2: CoreWing F405 WING is recognized, but COM port cannot be displayed
When CoreWing F405 WING is recognized as a Universal Serial Bus device orlibusb-win32 devices, it indicates incorrect driver installation, and no COM port is displayed next to CoreWing F405 WING.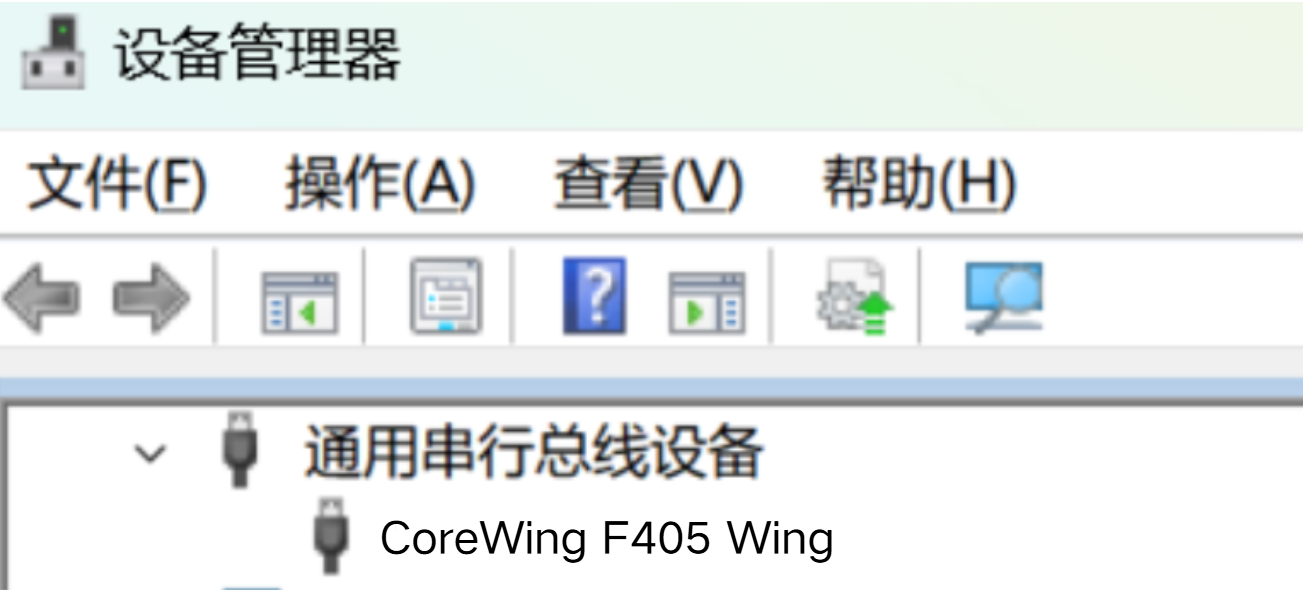
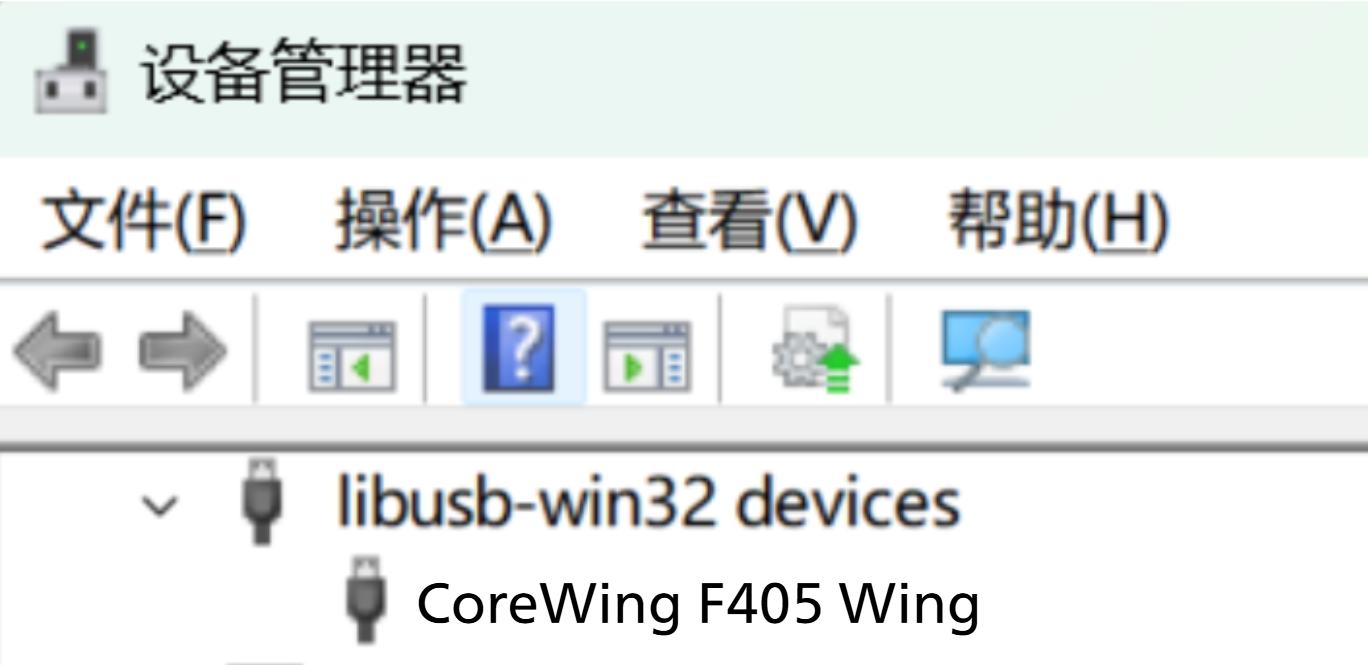
- Phenomenon 3: The driver is recognized as another device, such as Betaflight STM32F411 as shown in the figure below.

Important
For the abnormal flight controller firmware driver situations mentioned above, you can refer to this article for solutions: https://docs.corewing.com/plane/beforetuning/fc-no-com-port.html
Technical Support QR Code
If the above content cannot resolve your issue, please scan the QR code to contact technical support.