
How to Use MAVLink for Telemetry: A Micro Air Data Transmission Example
I. Working Principle of Telemetry Using MAVLink with Telemetry Radio
Telemetry radios use the MAVLink protocol to efficiently transmit telemetry data and control commands between the aircraft and ground control station through wireless communication, enabling real-time monitoring and bidirectional control.
II. Equipment Preparation
1. Flight controller: CoreWing F405 WING V2 / SpeedyBee F405 WING APP / SpeedyBee F405 WING MINI;
2. Telemetry radio: Weikong Technology LR900 telemetry radio (air end and ground end) or Weikong Technology LR24 telemetry radio (air end and ground end)
3. Telemetry radio cable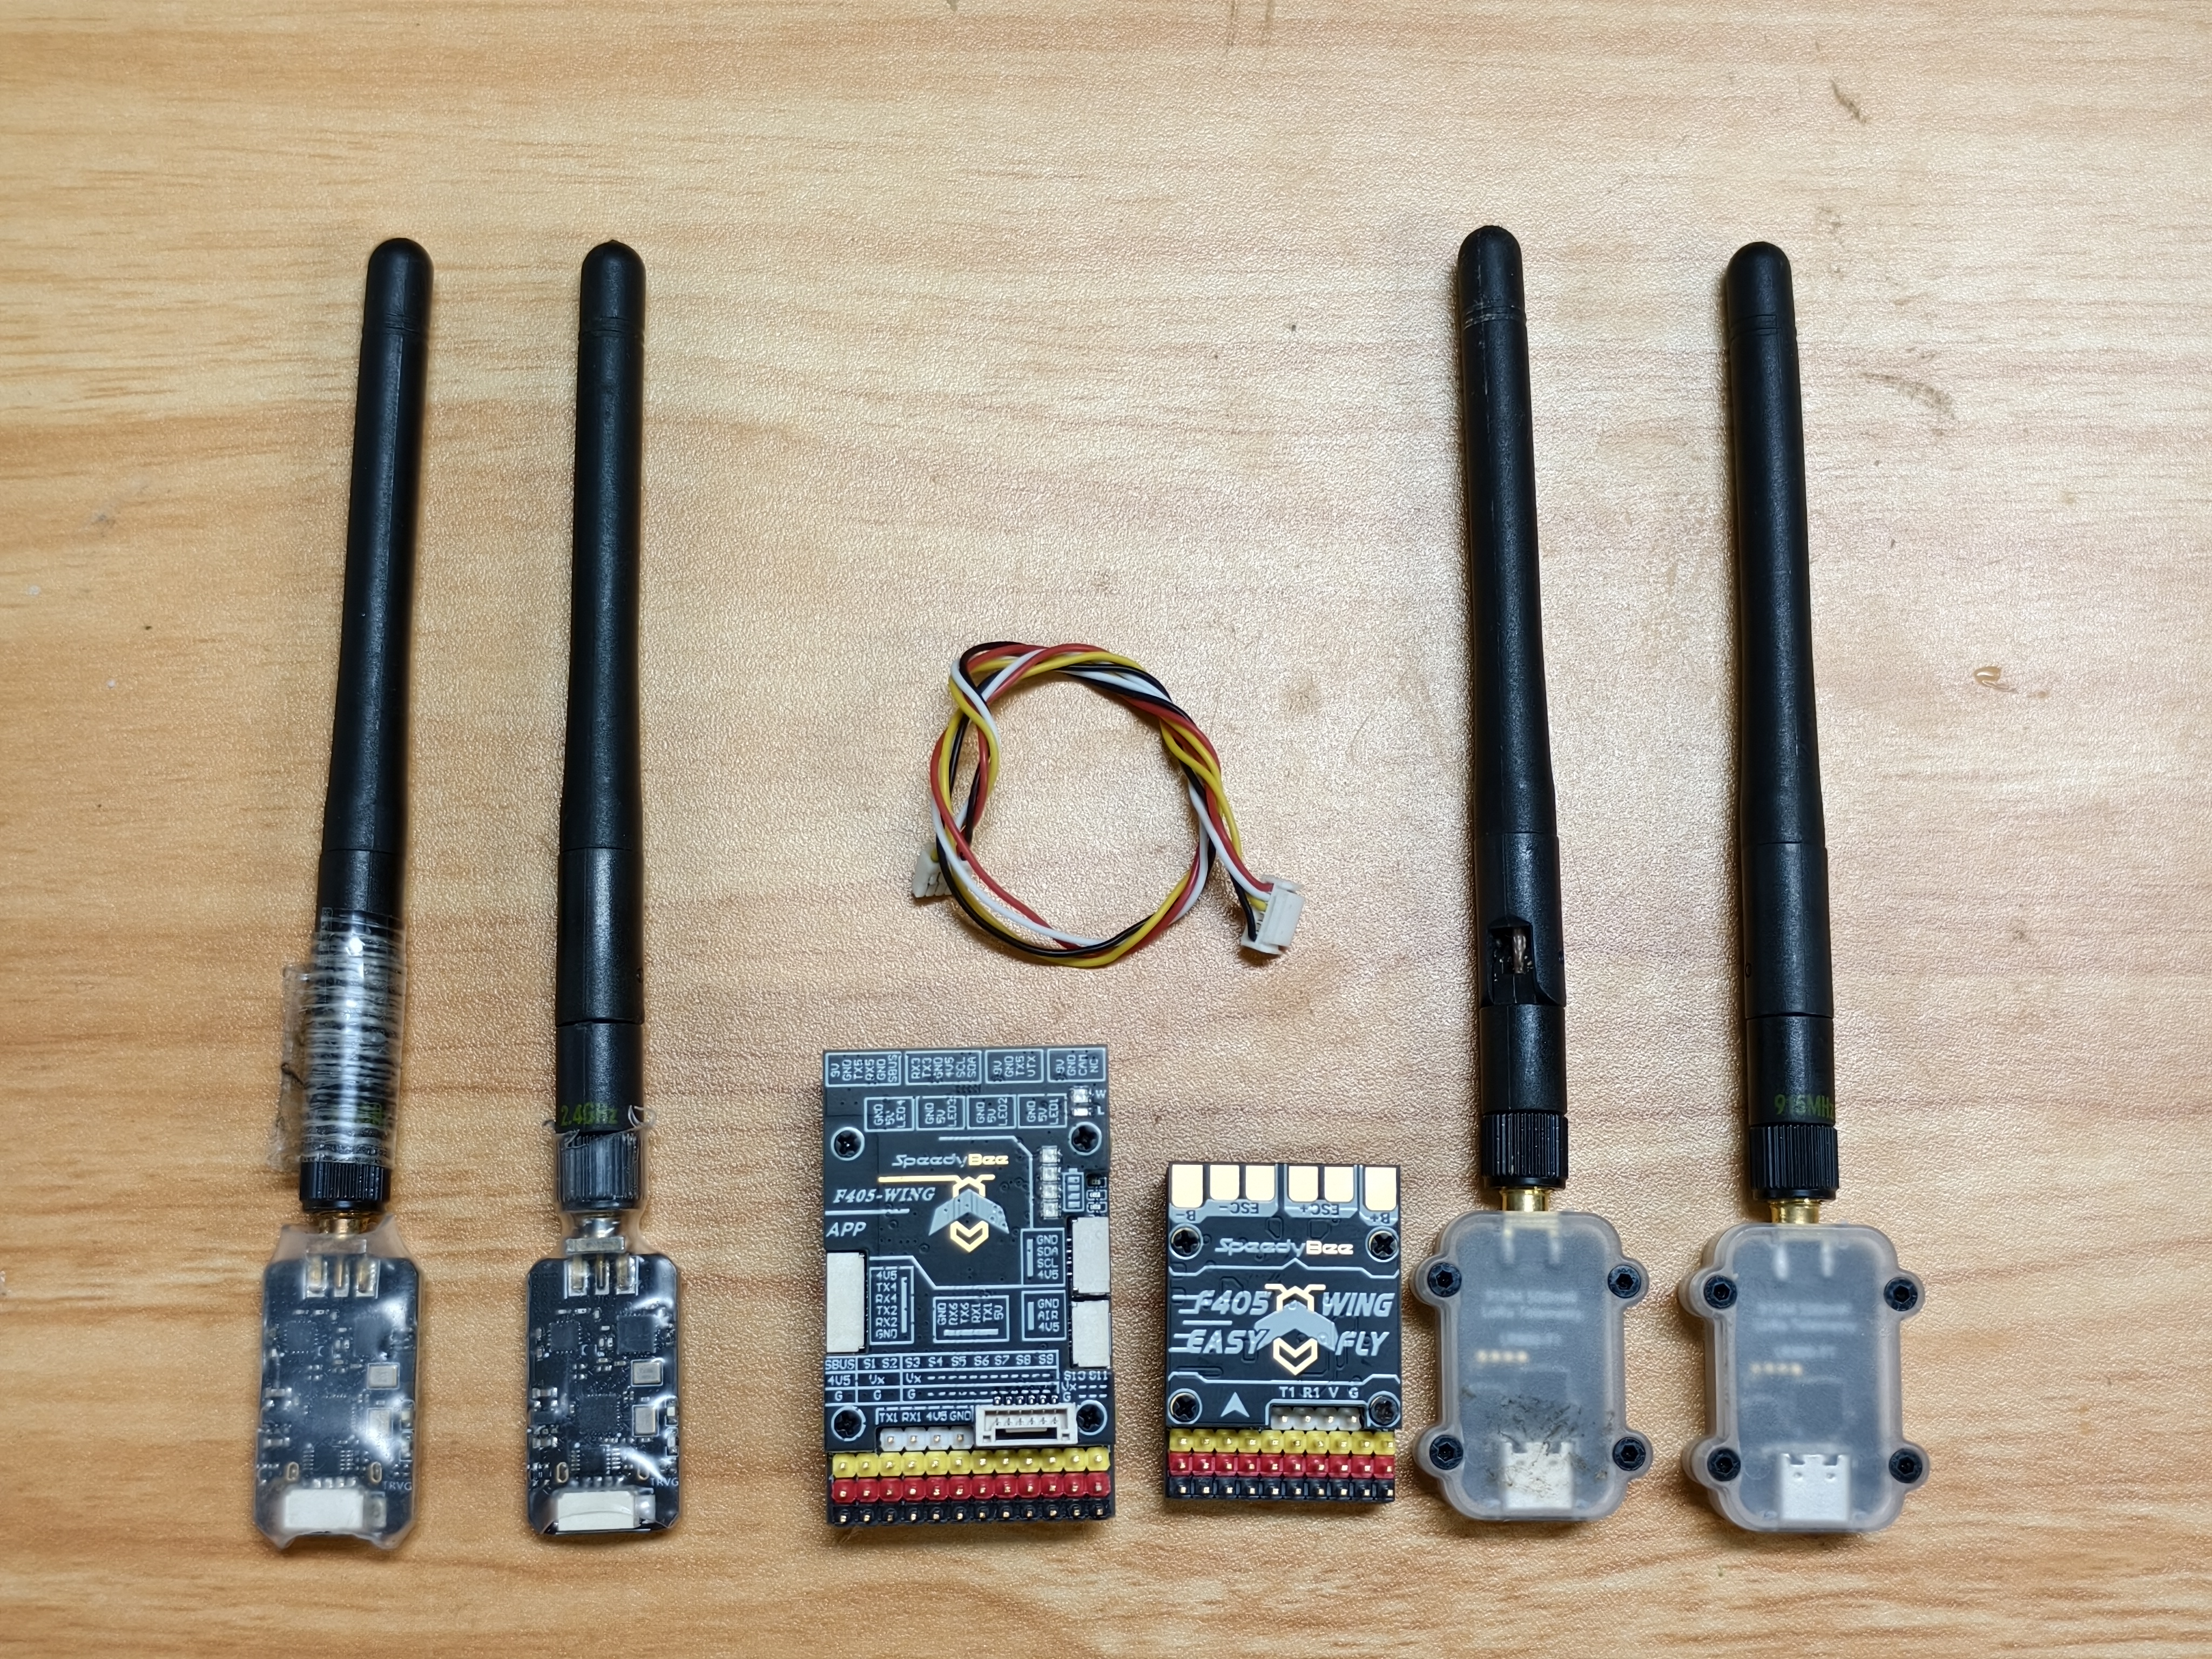
III. Telemetry Radio Ground Station Parameter Settings
- Weikong Assistant download link and tutorial: https://micoair.cn/docs/wei-kong-zhu-shou-xia-zai-he-shi-yong-shuo-ming
- Connect the air end/ground end to the computer using a USB data cable, open Weikong Assistant, set both the serial port baud rate and USB baud rate of the air end/ground end to 57600
After setting, click "Read Settings" again to confirm that the baud rates have been modified
IV. Different Ground Station Connection Settings
1. MissionPlanner Connection Tutorial and Troubleshooting
- Query which serial port on the flight controller can be used for telemetry communication
SpeedyBee F405 WING APP/SpeedyBee F405 WING MINI:
- Connect to the flight controller using a USB data cable, open MissionPlanner, go to the full parameter table, set SerialX_BAUD to 57600, set SerialX_Protocol to MAVLink2. After setting, power off and restart the flight controller.


※The serial port (SERIAL1) modified above is for demonstration purposes only. Please confirm the flight controller serial port used by the telemetry radio before making settings! - Connect the air end to the ground station, for telemetry wiring reference: https://docs.corewing.com/plane/ardupilot/settings/tele/telemetry-setup.html
- Connect the ground end to the computer using a USB data cable, open MissionPlanner, select the corresponding COM port for connection, choose 57600 for connection baud rate, and click connect;

- The ground station has finished acquiring parameters, connection successful.
| Comparison Table of MAVLink Communication Effects Using Different Devices | | | | |
| --- | --- | --- | --- | --- |
| | Link Quality at 500m (%) | Packet Rate at 500m (packets/s) | Link Quality at 1000m (%) | Packet Rate at 1000m (packets/s) |
| Telemetry radio | 95~100% | 56~58 | 95~100% | 56~58 |
| MLRS 2.4G antenna-BLE | 90~100% | 55~60 | 90~100% | 55~60 |
| ELRS 2.4G antenna-USB | 90~100% | 25~35 | 90~100% | 25~35 |
| ELRS 2.4G antenna-WiFi | 90~100% | 25~35 | 90~100% | 25~35 |
Q&A
Q: If the telemetry radio cannot connect to the ground station
A: Use MissionPlanner ground station to check:
Check if the cable between the telemetry radio and flight controller is damaged; check the USB baud rate setting and serial port baud rate setting of the telemetry radio ground station; confirm that communication has been established between the telemetry radios; enter MissionPlanner ground station to check if the connection baud rate setting is correct.
Q: If the control surfaces jitter after connecting the flight controller telemetry.
A: The telemetry radio interferes with the receiver, causing small fluctuations in the input to the flight controller after the receiver input.
Technical Support QR Code
